
You may have heard of pre-filters, but have you ever thought of post-filtering? I have been almost obsessed with finding ways to improve and optimize filtering,by customizing what is readily available, but also by building my own filters out of practically anything. I have previously used sewage pipes to build a biological filtration, that actually worked really well.

During my experiments, I have learned a whole lot about not only making filtration great, but also accounting for energy loss and usability. One of my greatest issues with the sewage pipe filter, was that it was a real pain, to clean it and it had to be cleaned quite often. I therefore restarted my tank, with a whole new design that accommodated for this. I created two of these filters for my tank, using acrylic plates and filter sponges.
This filter works great, and looks much better than bright orange sewage pipes. One thing that I have learned is, that due to the pretty large surface of the sponges, they don’t really create much suction. The water passes through them quite slowly. This means that it does get filtered biologically, but they do not really collect solid waste. I actually had to modify them, to increase their ability to collect debris.
The other improvisation that I did to this, was in the outlet of the pump.s Instead of simply having the water go out of the top, I created a type of additional filter. This is an idea that I had been speculating on for a while, partly because there was quite a lot of current in the tank generated by the outlets, but also to be able to add carbon and phosphate capturing resins to the filter process.
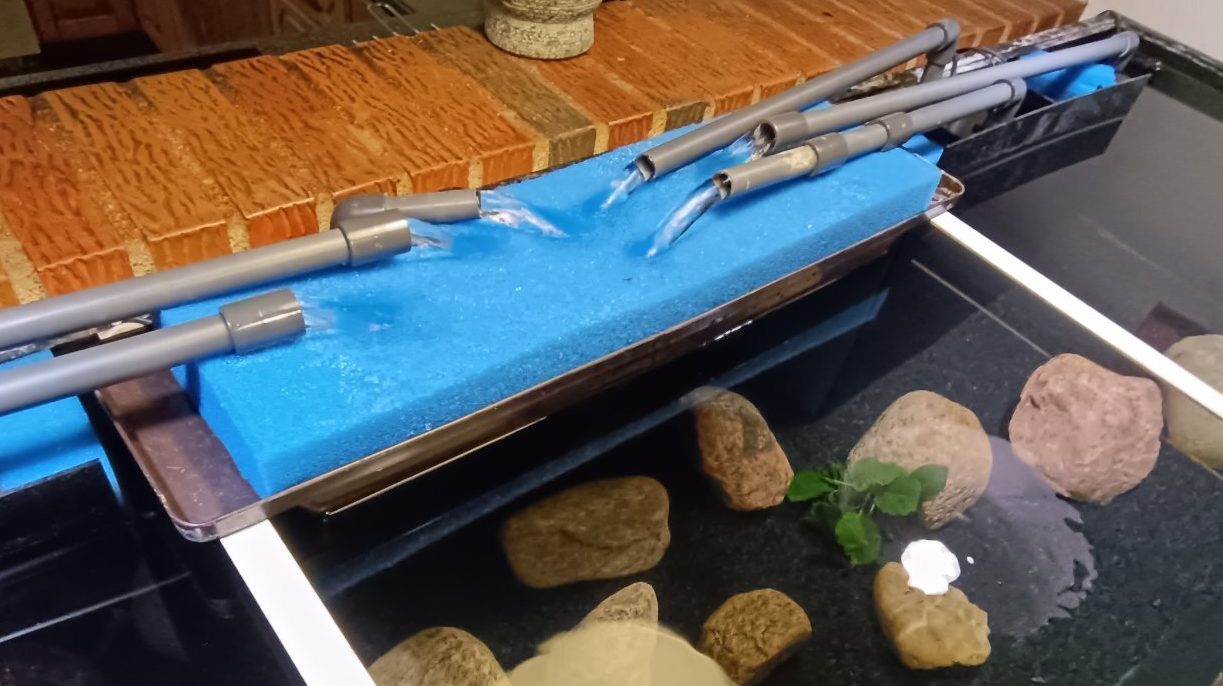
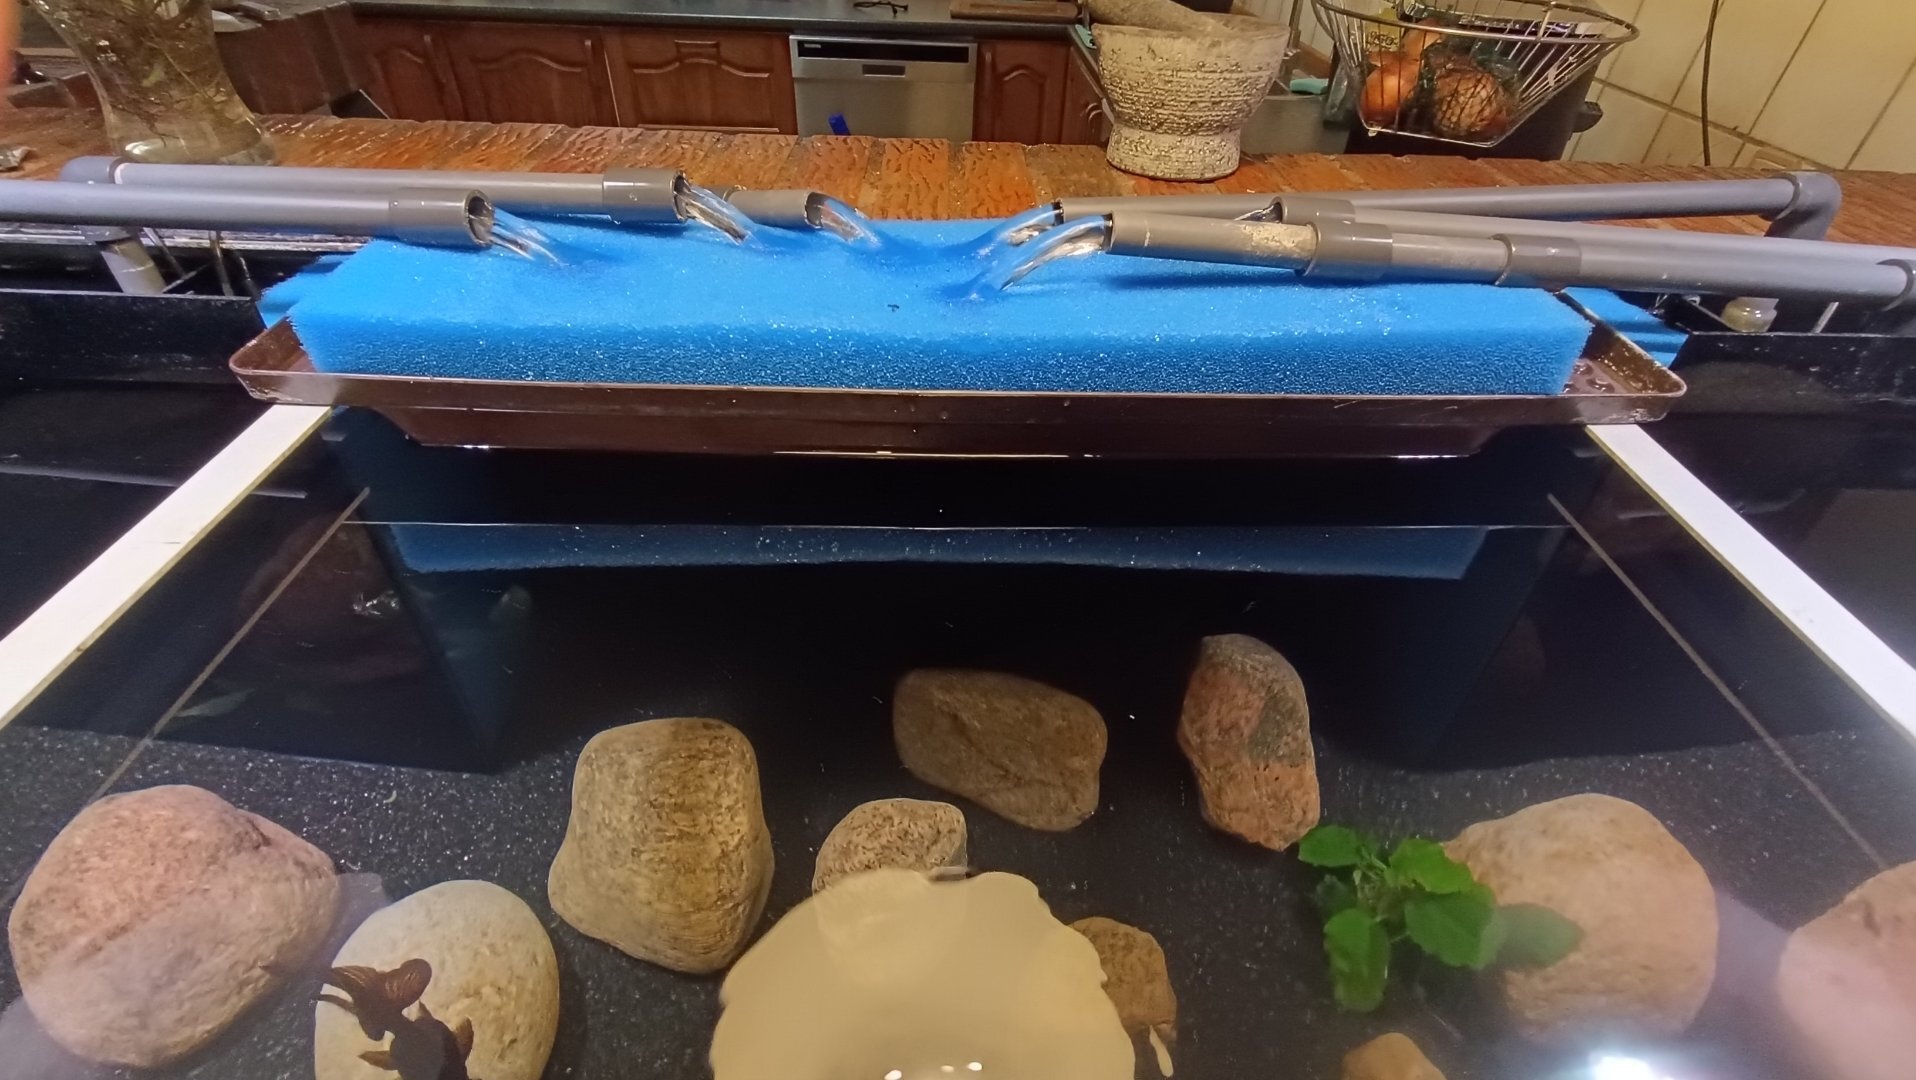
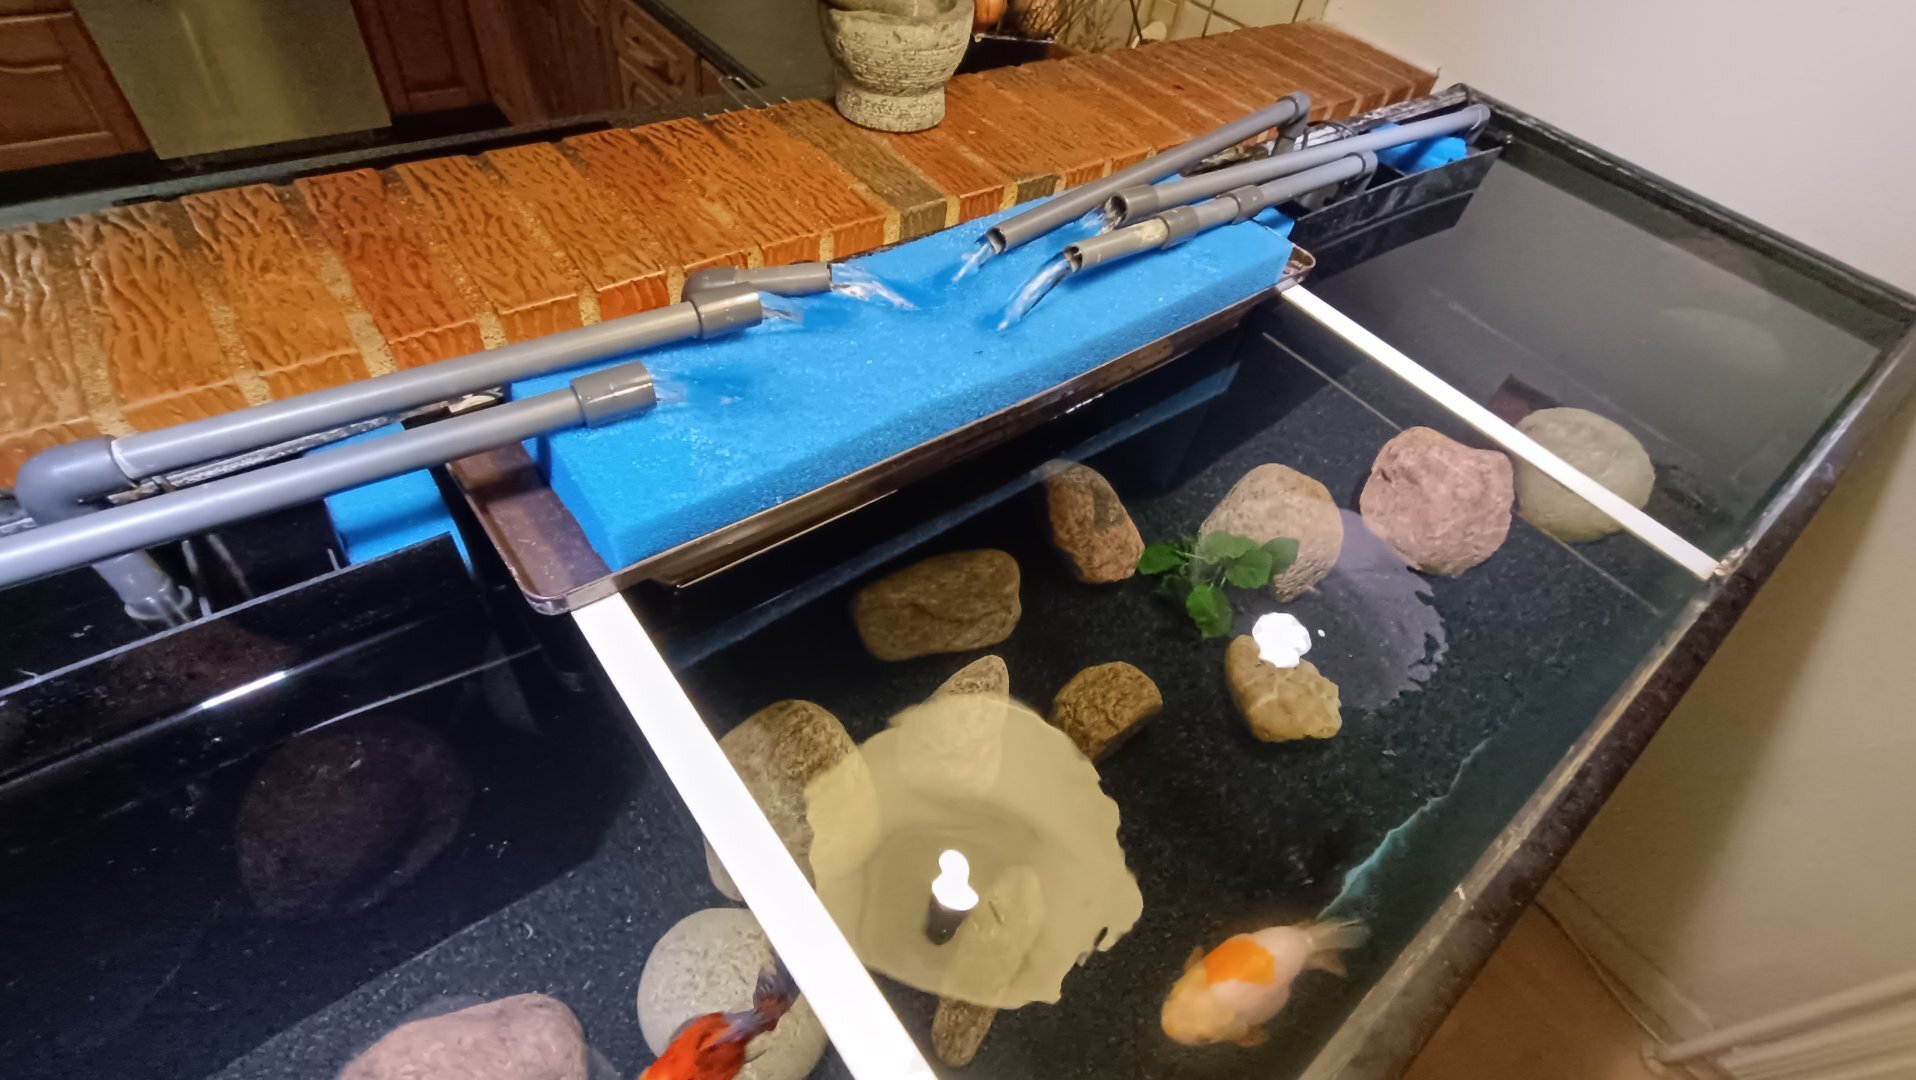
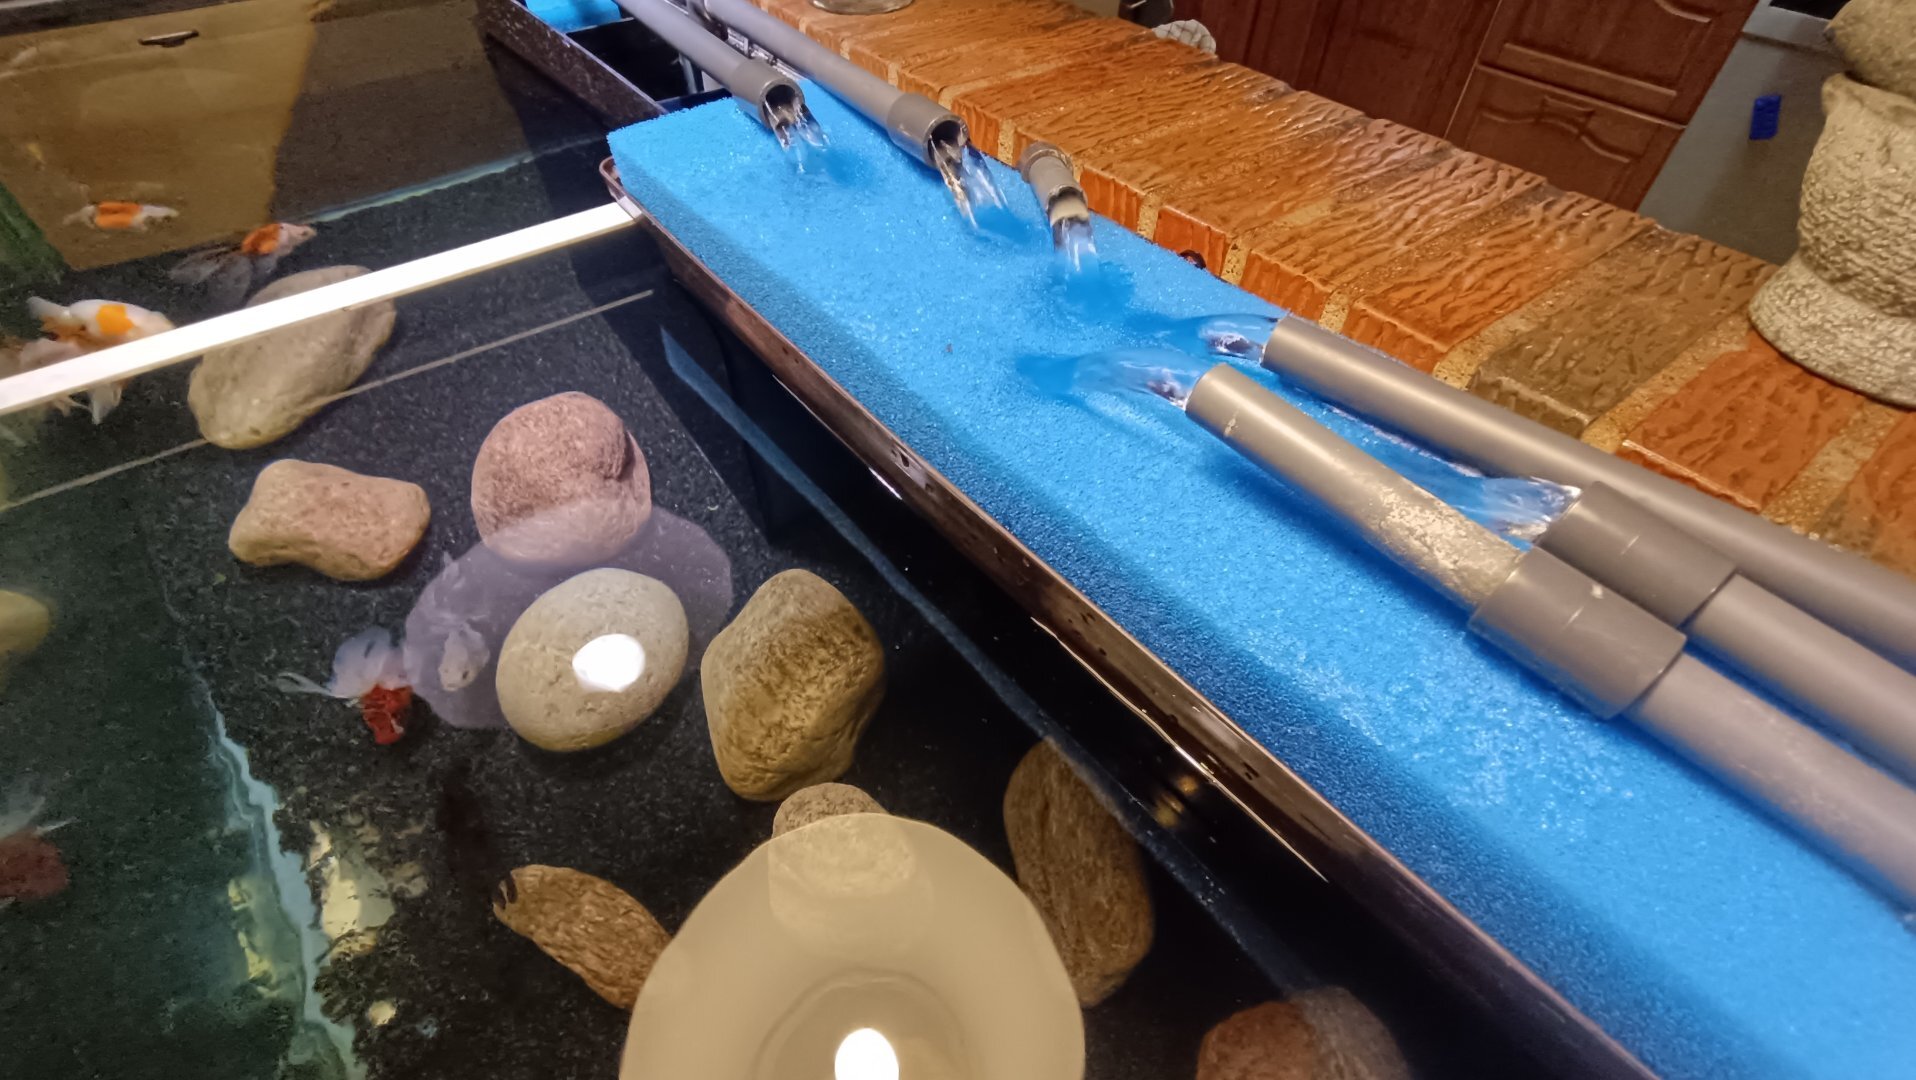
After considerable time of designing and 3D printing brackets that I wanted to mount onto aluminum rods, to carry the filter media and sponges, I realized that I actually could use a bathtub tray that we did not use any more. This fitted across the middle part of the tank nicely and has holes in the bottom, for the water to run through.

I must admit that this is not great looking, yet. I wanted to make sure it worked before working on making it look good. This was a good thing though, because I have already noticed a few minor adjustments that I need to do.
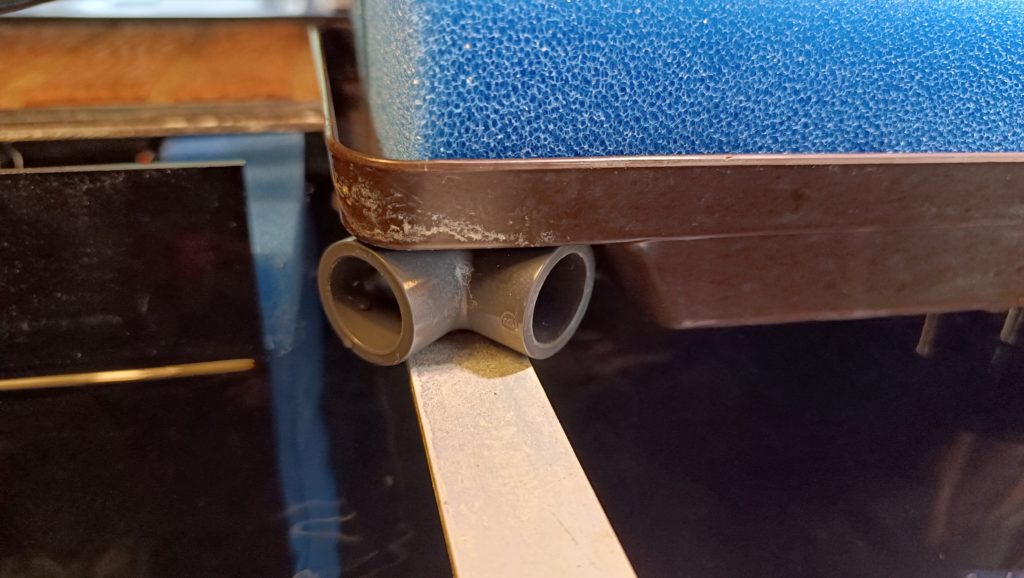
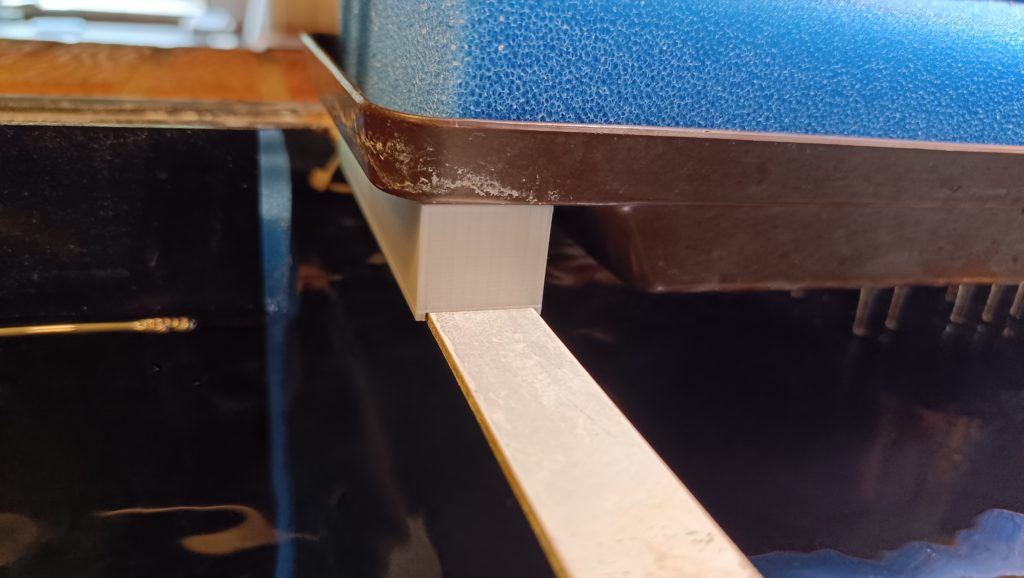
The water was released bellow the water surface. This is actually ideal, for filtration, as you keep much of the filter wet, but still have substantial water flow to maintain the water aerated. My issue was that although I had 6000 liters run through it each hour, there was barely any water movement in the tank, so solid waste would not gather in the filters. It just piled up in dead zones. Also, the water outlet generated almost no surface agitation, and the fish seemed to need more oxygen. My initial solution, was to raise the bathtub tray by 25mm (1 inch). I initially used a few PVC joints to do this, and eventually replaced them with a 3D printed support.
This helped aerate the water, so the fish did not need to gasp for air. I also moved the three internal filters so that they generated more flow inside the tank. The results were great! Better aeration, good circulation, a bit of an irritating noise that we could live with, but also quite a lot of humidity in the room. This was not very good.
The sweet spot that I have settled on, is to lower the tray back into the water surface, and point some of the internal filters towards the water surface, in order to generate some surface agitation. This has proved to be the best combination, and the fish seem to enjoy it. Filtration is also going extremely well!
To make the whole thing look a bit more civilized, I have covered it up with a plastic plate. This partly keeps the room humidity down, while covering up the less attractive pipes and sponges

Leave a Reply